Ground Penetrating Radar (GPR) as Forensics tool
Ground Penetrating Radar (GPR) is increasingly becoming an essential tool for forensic professionals seeking to locate hidden objects—whether behind walls, inside concealed compartments, or buried underground. While GPR is highly effective in detecting metallic objects, it requires advanced interpretation skills when searching for non-metallic targets such as human remains or explosives.
How GPR works
GPR operates by emitting high-frequency electromagnetic pulses into a material and analyzing the reflected signals. Each pulse interacts with subsurface structures, and the radar records both the strength and time delay of returning signals. The data collected from a series of pulses over a given area forms a scan, which can then be interpreted to identify anomalies.
Reflections occur when the energy pulse encounters a boundary between materials with different electrical properties—specifically, conductivity and dielectric permittivity. The greater the contrast between these properties, the stronger the reflection. For example, a pulse transitioning from dry sand (dielectric of ~5) to wet sand (dielectric of ~30) will produce a strong reflection, while a transition from dry sand (~5) to limestone (~7) will generate a much weaker reflection.
Factors Affecting GPR Performance
Several material properties influence how GPR signals behave:
Dielectric Permittivity: Materials with high dielectric constants slow the radar wave and limit penetration depth.
Conductivity: High-conductivity materials attenuate signals quickly, reducing GPR’s effective range.
Water Content: The presence of moisture increases dielectric permittivity, significantly impacting signal propagation.
Metallic Objects: Metals act as complete reflectors, preventing radar waves from penetrating beyond them. This means that any material hidden behind a metal sheet, fine mesh, or reinforced concrete may not be visible in a radargram.
Given these principles, it becomes evident why a metallic object like a firearm is far easier to detect than a wooden box filled with explosives or a disturbed soil area from a previous excavation.
GPR in Action: Locating Hidden Firearms
During a recent forensic training session, a customer wanted to test how well GPR could detect firearms hidden within different materials. Firearms are commonly concealed in walls or beneath floors, often at shallow depths—just a few centimeters below the surface—because individuals attempting to hide weapons typically lack the time or tools to bury them deeply.
Key Forensic Targets When Searching for Guns with GPR
The gun itself – Metal firearms produce a strong reflection due to their high conductivity.
A hidden compartment – Voids within solid structures, such as a hollowed-out section in a concrete wall, can also be detected using GPR.

2D vs. 3D Scanning for Weapon Detection
A quick 2D GPR scan provides a preliminary assessment of possible targets. If time permits and an accurate determination is critical, a detailed 3D survey can be conducted. For small firearms, an optimal survey grid is 30×30 cm with a 5 cm spacing, which provides sufficient resolution while remaining time-efficient.
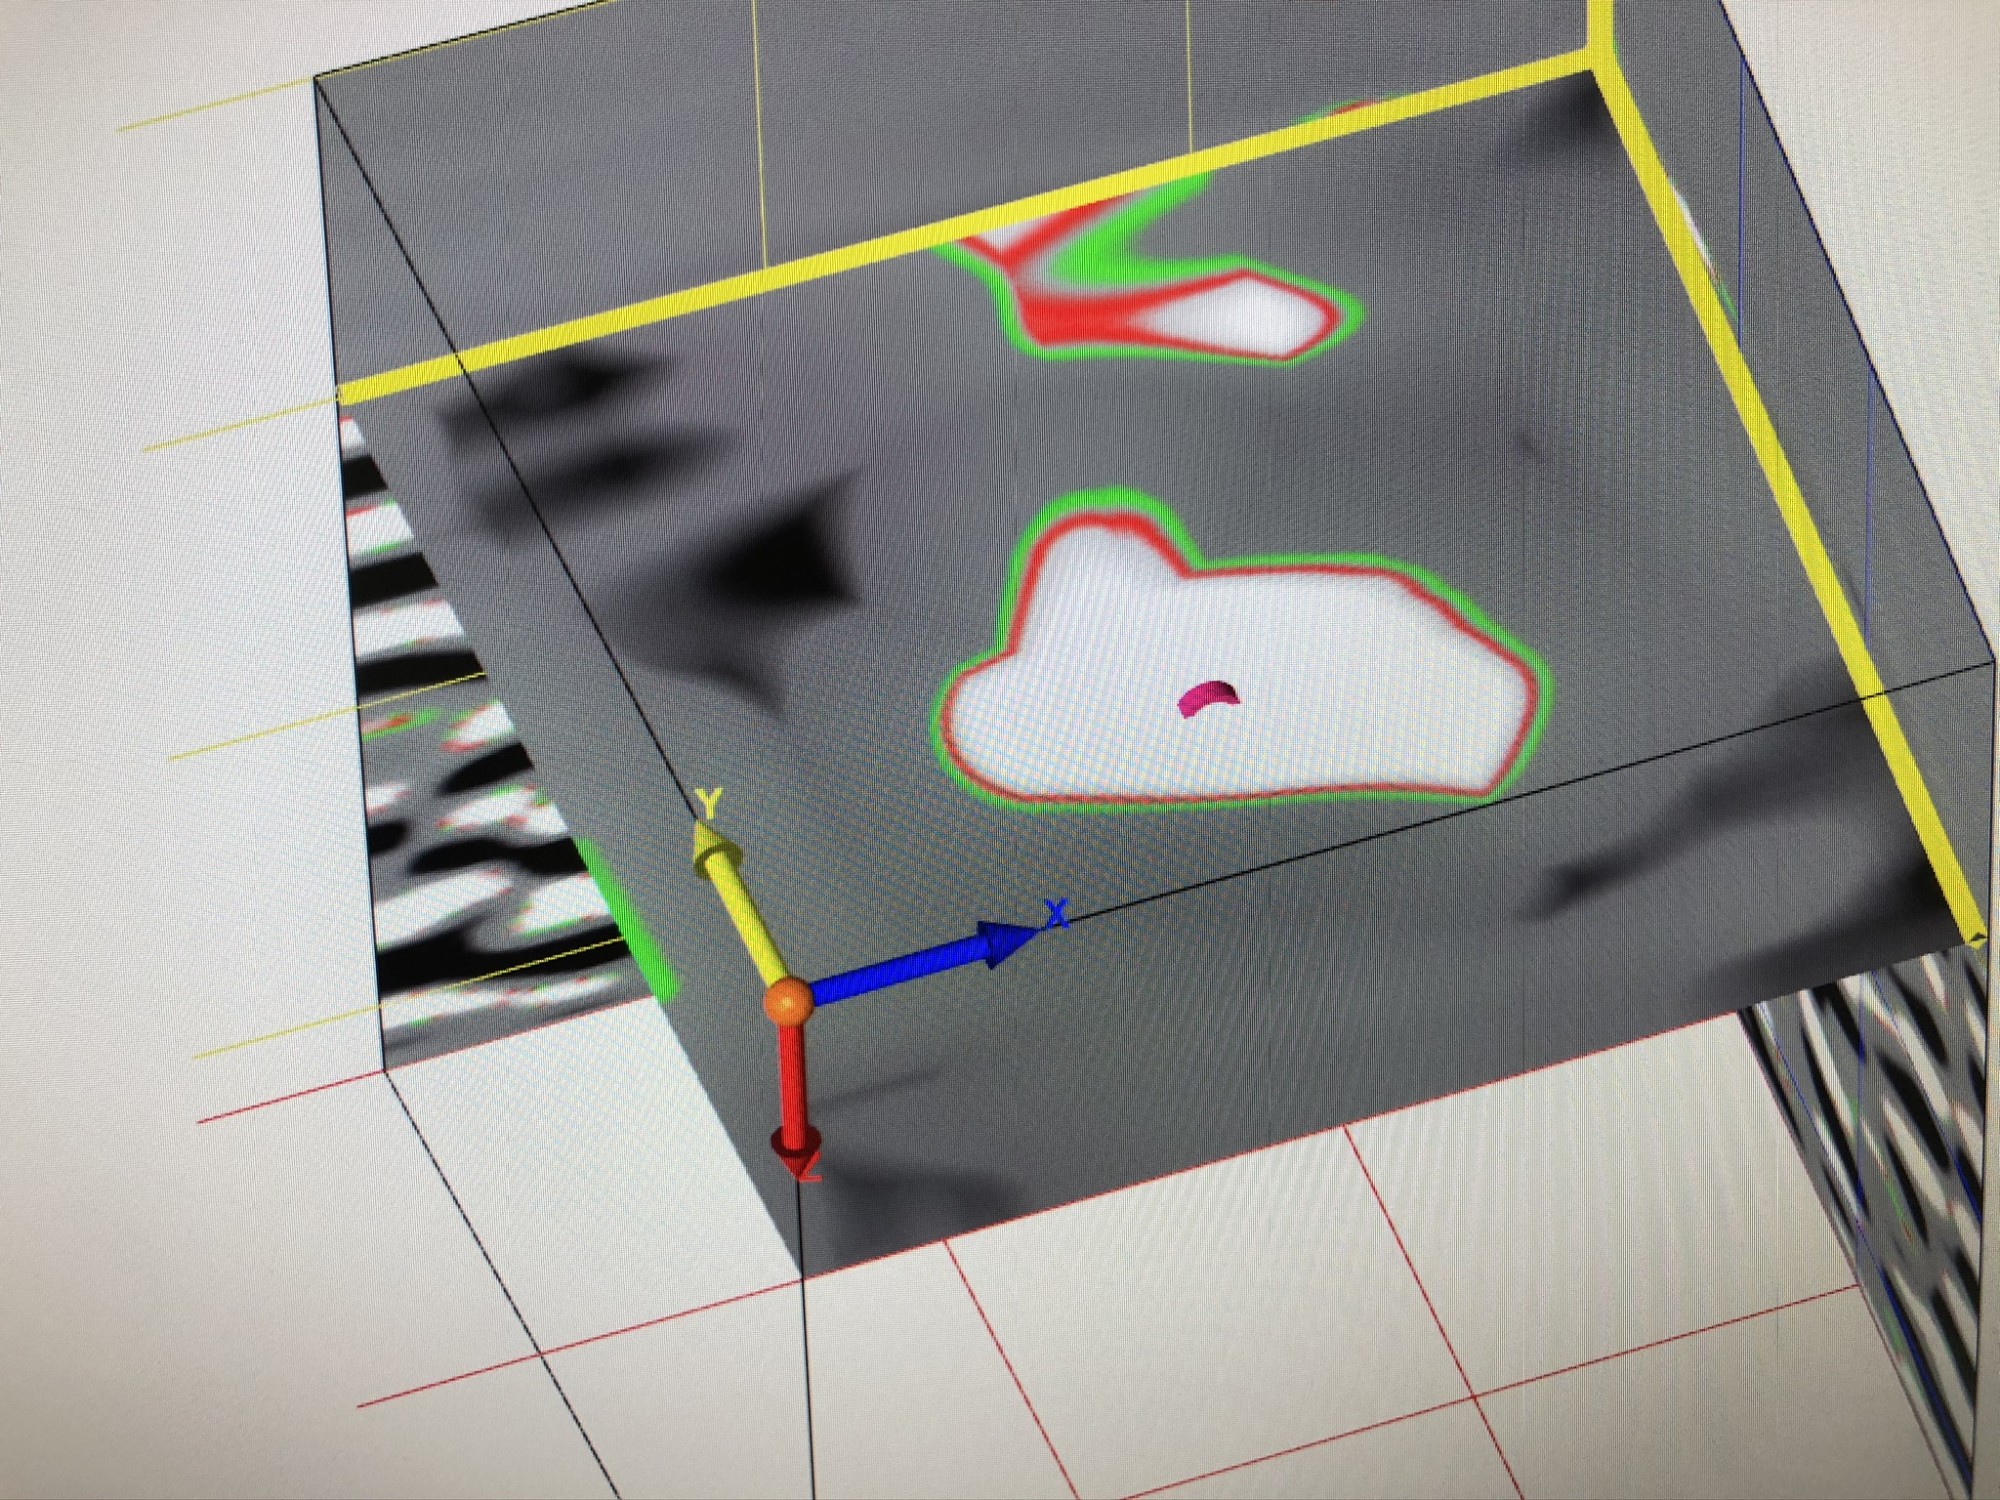
Case Example: Gun Hidden Behind a Concrete Wall
In our training session, the firearm was placed inside a foam container and concealed within a concrete wall. Using a 1.5 GHz antenna, we obtained clear results. If higher resolution was needed, upgrading to a higher frequency antenna would have provided even more detail. See pictures above to understand how the radargram looked like.
Challenges of Searching for Buried Firearms
Locating guns buried underground presents additional challenges. Unlike scanning walls or floors, where voids and strong reflections stand out clearly, the ground may contain multiple metallic objects, leading to false positives. An inexperienced operator might struggle to differentiate between significant and insignificant targets.
Best Practices for Forensics’ Surveys
- Bi-Directional Data: Always collect GPR data in two perpendicular directions to improve accuracy.
- Get Rid of Clutter: Conduct preliminary scans to rule out irrelevant metallic clutter.
- Pick the right antenna: higher frequencies (1.5 GHz+) for shallow targets, lower frequencies (e.g., 350 MHz) for deeper searches.